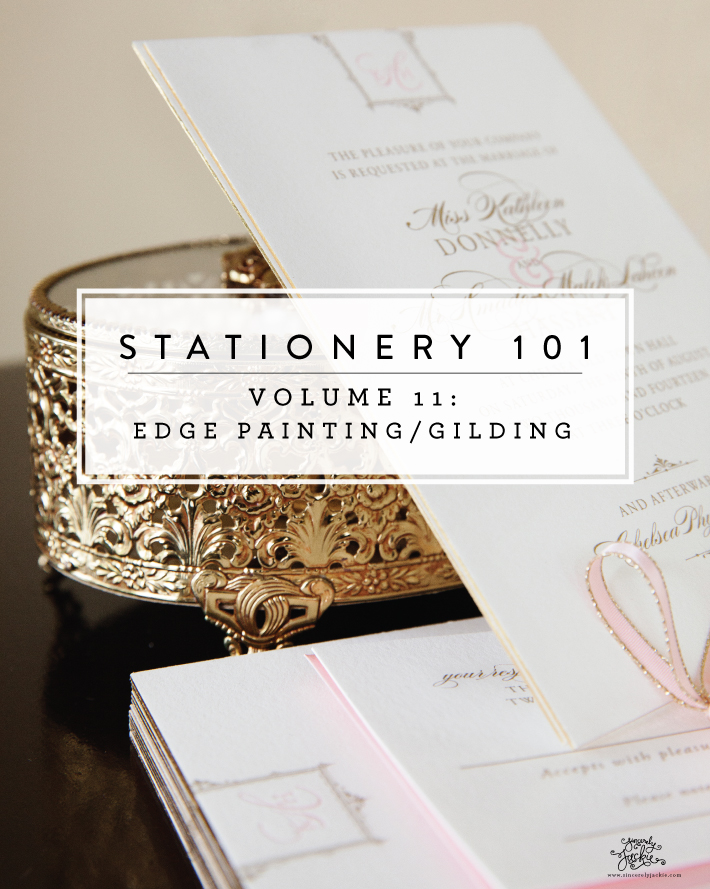
Stationery 101, Volume 11: Edge Painting & Gilding


I'm writing to you today from snowy Long Island, where every single grocery store is sold out of bread and milk. Why? Might you ask. Well, because we are in the midst of a record breaking snow storm. A blizzard. Snowmageddon. Snowpocolypse. You get the picture. I'm sure a lot of you out there laugh in the face of 2-3 feet of snow, but for us Long Islanders, we just can't wrap our brains on anything over 10-12 inches. I'm crunching to get as much work done as possible before we lose power - which is a very real, very cold possibility.
While I'm sure you'd love to hear more about the snow, I know you're really here to chat about the most over-looked, detail-begging part of your invitations. The edges. Yes, the white space around the sides of the beautiful paper we so carefully picked out together. Those crisp, clean, edges are just crying out for some love and attention.
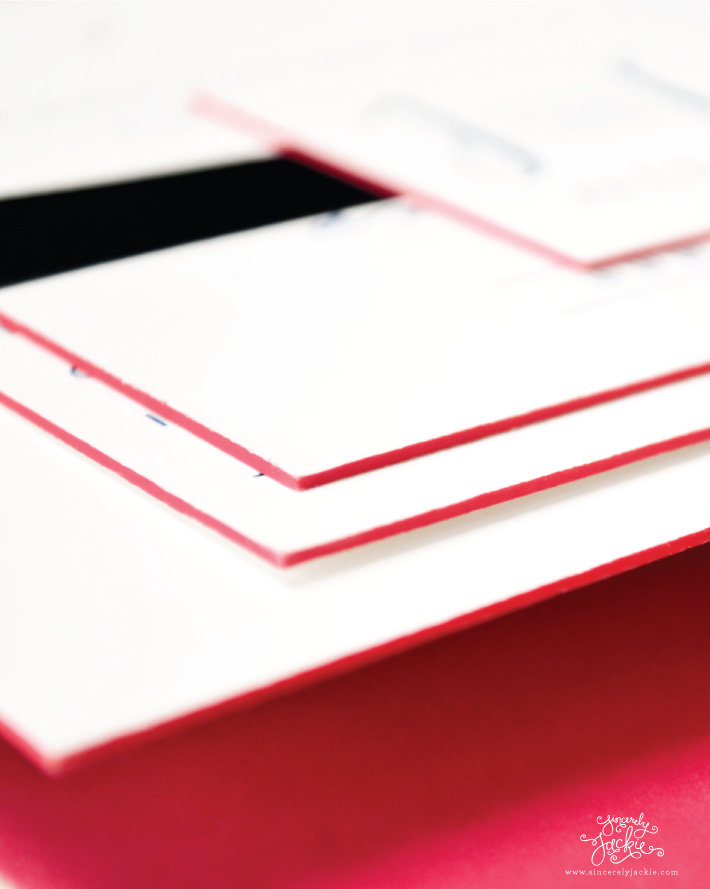
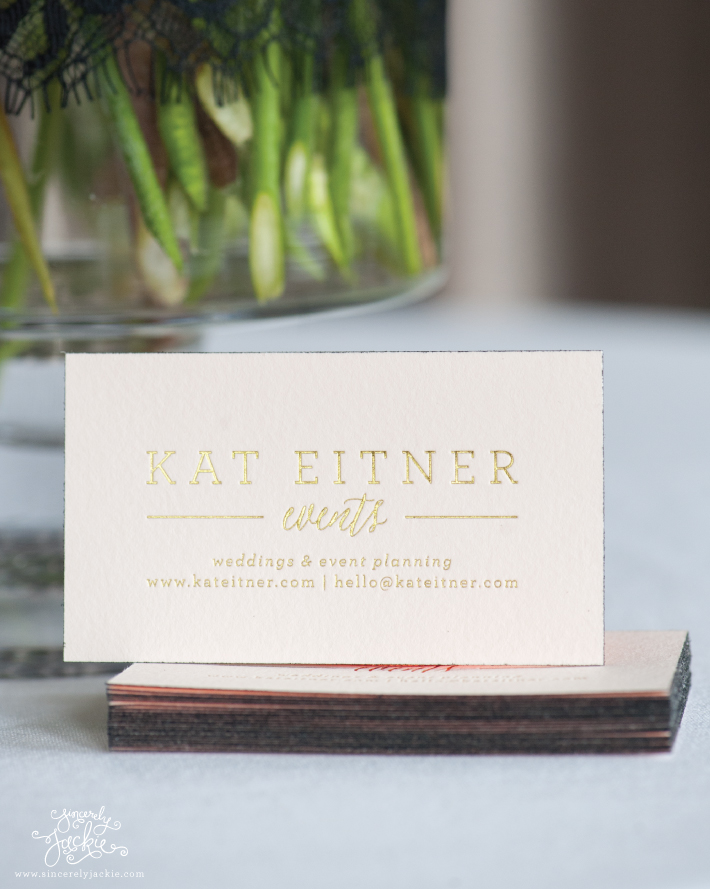
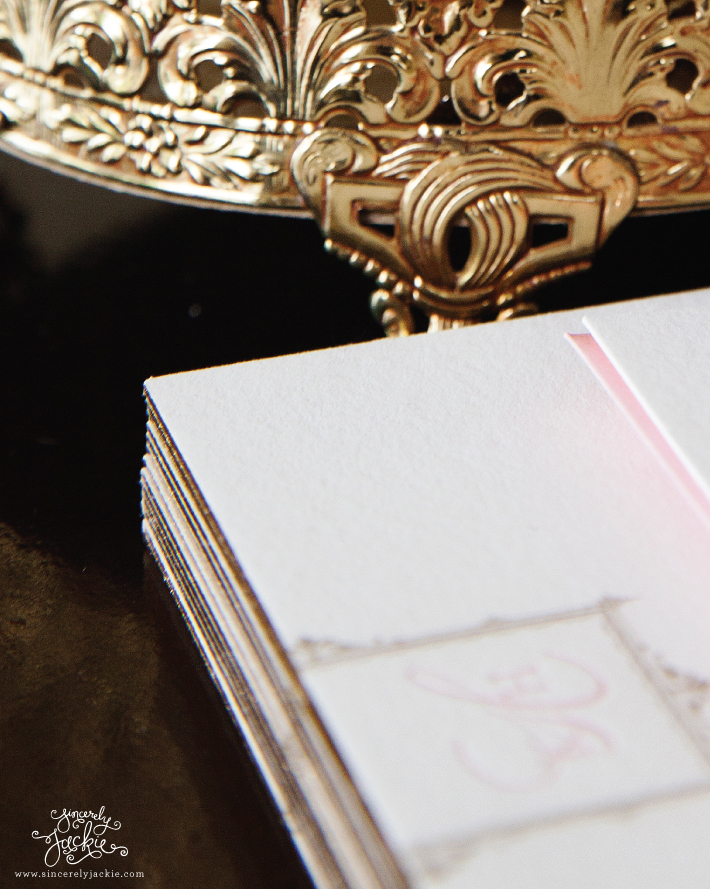
There are a lot of options when it comes to adding detail to the edges of your invitations. You can add metallic gilding, which is similar to foil in shine and luster; or you can have the edges painted in a rainbow of colors. The first four photos above show edge painting - hot pink on the wedding invitations, a barely-there aqua on my own business cards, and black on pink cotton business cards. When painting, you can literally pick any color you want. The last photo shows gold gilding, which was done on the Bourne Glam invitations to coordinate with the genuine gold engraving. I've also dappled with some DIY edging, which I'll share more on in a bit.
Now that I've got your wheels turning, you're considering adding edging to your invitations, aren't you? Well, here are my three tips on how to get the best results:
USE THICK PAPER: The paper needs to be thick enough to actually see the edges, so the thicker the paper, the more surface to show off. Double thick (220lb) paper works best, and each individual piece really showcases the edge details. You can add edging to standard 110lb paper, as shown above with the gold foil business cards on pink paper with black edge painting. The black is subtle on each individual business card, but when stacked together, you can really see the beautiful edges. The cost for the edging is the same on either thickness.
PICK A COLOR THAT POPS: As much as I love the subtle blue edges on my business cards, next time I'll go for a brighter, more saturated hue. If you're spending the money to have your edges painted or gilded, I feel like it should be done in a noticable way. The hot pink and black edging is a show stopper - you absolutely cannot miss it, and I love that. Similar to letterpress inks, the colors used for edge painting are translucent, so if you want to paint the edges of a dark paper, you may have a hard time. It can be done, but I would recommend gilding instead.
BE WEARY OF THE DIY: I know, I know, DIY is so tempting when it comes to paper. Everybody thinks they can do just as good of a job as a professional. Sometimes it works out, sometimes it doesn't. When it comes to your wedding invitations, I just wouldn't risk a DIY fail. I had heard that edge painting was a fairly easy thing to DIY, so I painted the edges of these thank you cards with gold acrylic craft paint (I tried other types of paint, this was the best). They came out really beautifully, but it took A LOT of time, practice, testing, and samples. After spending several hours printing and painting nearly 400 cards, I only ended up with about 150 that I could use. I also had some serious hand cramps from holding the paper tightly together for so long. After all was said and done, I can't say that I have plans to paint any edges on my own anymore.
So there you have it, my three tips when thinking about adding some character to the edges of your invitations. As far as cost goes, edge painting starts at around $200 for your entire suite. That may seem steep, but it's an investment into the invitation itself and something that your guests won't throw out.
Now that you know more about edging, is it something you're going to consider for your next stationery project or wedding invitations?
Thank you for joining me in another Stationery 101 post! Don't forget to catch up on past Stationery 101 topics here, such as Letterpress 101, Foil Stamping 101, and Engraving 101.
Sincerely,